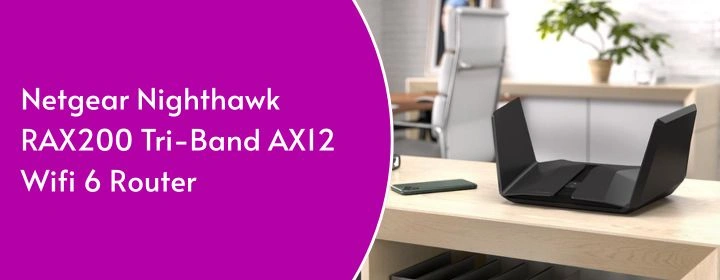
The Netgear Nighthawk RAX200 WiFi 6 tri-band router has AX1200 range and reach. The device is powerful, promises service for years, and fast.
Here in this installation guide, you will get to learn how to complete the Netgear nighthawk RAX200 setup. There is a clean way to install the router through the Nighthawk app in your phone.
Netgear Nighthawk RAX200 Setup Guide
You should start unboxing the router and its accessories:
- The actual Nighthawk RAX200 router
- A cable modem connected with the ISP server socket
- Ethernet cable (comes in the box)
- Your phone or computer
- The Nighthawk app (iOS or Android)
Step 1: Unbox the RAX200
This router is HUGE. Open it, plug in the wings (antennas), and feel cool for 2 minutes.
Step 2: Power up + connection
- Plug the power cable into the RAX200 and wait for the power LED to go solid white.
- Grab the Ethernet cable. Connect it from your modem’s LAN port to the yellow Internet port on the router.
- If your modem was on, unplug it, wait 30 secs, plug it back in. Classic power cycle move.
Step 3: Get on the router’s WiFi
- Flip the router over, find the WiFi network name (SSID) and password on the label.
- On your phone or PC, connect to that network.
- Don’t worry, you’ll change this later.
Step 4: Open the Nighthawk app
- Launch the app.
- If it asks, enable Bluetooth. It sometimes speeds things up.
- Tap “Set Up a New Router”
- Follow the steps like a zombie. Seriously. It’s mostly next-next-next.
- It’ll auto-detect your Internet. If it doesn’t, pick DHCP (most people use this unless your ISP gave you static IP details).
NOTE: If the app fails for whatever reason (because sometimes it does), just access the nighthawk router login interface (routerlogin.net) on your browser. That’ll take you to the manual setup screen. Username: admin, password: password (change that ASAP later).
Step 5: Customize your network
- Give your WiFi a real name. Not “NETGEAR123” unless you’re a sociopath.
- Choose a solid password. you should try mixing caps, numbers, and symbols.
- if you want you can set up all three bands: 2.4GHz (for older stuff), 5GHz-1 and 5GHz-2 (for newer, faster stuff). You can name them the same.
For max speed. You should select the 5GHz networks separate and manually connect your high-bandwidth devices (gaming consoles, 4K streamers) to the faster one.
Step 6: Nighthawk Firmware update
It’ll ask you to update. DO IT. Don’t skip. Netgear pushes important patches and speed tweaks. It’ll reboot after that, so go grab coffee or doomscroll Twitter for 3 mins.
Step 7: Tweak settings
- Log in to the web UI via routerlogin.net
- Go to Advanced > Administration > Firmware Update — just double-check it’s up to date.
- Explore QoS, parental controls, port forwarding, or whatever you’re into.
- Pro users: Enable AX features, disable Smart Connect if you want to control band use manually.
Step 8: Done. Mostly.
Now, go around the house and reconnect all your smart bulbs, TVs, Alexas, tablets, thermostats, and that random smart coffee machine you forgot you bought.
In case, something’s not connecting, try turning off Smart Connect or assigning static IPs to finicky devices.
Bonus: Set up remote access (if you want)
- Inside the Nighthawk app, go to settings > anywhere access.
- Create an Netgear Nighthawk login account, you can manage the router even when you’re not home. Just in case your little brother decides to mess with the settings.
Common Setup Problems (and quick fixes)
- No Internet detected? Restart your modem + router. Check cables.
- Can’t connect to routerlogin.net? Use 192.168.1.1 instead.
- Firmware won’t update? Try Nighthawk AX12 router configuration from the browser UI instead of the app.
- Smart Connect causing issues? Turn it off and split the bands manually.
The End Lines
Hope, you have installed the Nighthawk RAX200 WiFi router with the tri-band WiFi 6 AX12 technology in your house. And now you have connected with the router’s network via new username and password.

